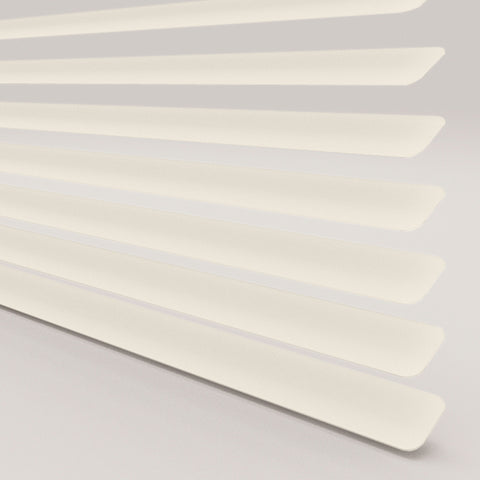
Dairy
**IMPORTANT NOTICE**
Please select from the size option box's below, if your exact measurements are larger than the sizes stated in these box's then please select the next size up.
Failure to select the correct options may result in a delay to your order.
Width
265mm - 610mm
611mm - 761mm
762mm - 913mm
915mm - 1067mm
1068mm - 1219mm
1220mm - 1400mm
Drop
200mm - 609mm
610mm - 761mm
762mm - 913mm
914mm - 1066mm
1067mm - 1218mm
1219mm - 1371mm
1372mm - 1523mm
1524mm - 1675mm
1676mm - 1828mm
1829mm - 1981mm
265mm - 610mm / 200mm - 609mm
- £80.00
265mm - 610mm / 610mm - 761mm
- £85.00
265mm - 610mm / 762mm - 913mm
- £90.00
265mm - 610mm / 914mm - 1066mm
- £80.00
265mm - 610mm / 1067mm - 1218mm
- £102.00
265mm - 610mm / 1219mm - 1371mm
- £107.00
265mm - 610mm / 1372mm - 1523mm
- £113.00
265mm - 610mm / 1524mm - 1675mm
- £117.00
265mm - 610mm / 1676mm - 1828mm
- £127.00
265mm - 610mm / 1829mm - 1981mm
- £132.00
611mm - 761mm / 200mm - 609mm
- £88.00
611mm - 761mm / 610mm - 761mm
- £93.00
611mm - 761mm / 762mm - 913mm
- £98.00
611mm - 761mm / 914mm - 1066mm
- £106.00
611mm - 761mm / 1067mm - 1218mm
- £111.00
611mm - 761mm / 1219mm - 1371mm
- £118.00
611mm - 761mm / 1372mm - 1523mm
- £122.00
611mm - 761mm / 1676mm - 1828mm
- £135.00
611mm - 761mm / 1829mm - 1981mm
- £140.00
762mm - 913mm / 200mm - 609mm
- £94.00
762mm - 913mm / 610mm - 761mm
- £102.00
762mm - 913mm / 762mm - 913mm
- £106.00
762mm - 913mm / 914mm - 1066mm
- £112.00
762mm - 913mm / 1067mm - 1218mm
- £120.00
762mm - 913mm / 1219mm - 1371mm
- £126.00
611mm - 761mm / 1524mm - 1675mm
- £122.00
762mm - 913mm / 1524mm - 1675mm
- £132.00
762mm - 913mm / 1372mm - 1523mm
- £126.00
762mm - 913mm / 1676mm - 1828mm
- £142.00
762mm - 913mm / 1829mm - 1981mm
- £150.00
915mm - 1067mm / 200mm - 609mm
- £100.00
915mm - 1067mm / 610mm - 761mm
- £106.00
915mm - 1067mm / 762mm - 913mm
- £112.00
915mm - 1067mm / 914mm - 1066mm
- £119.00
915mm - 1067mm / 1067mm - 1218mm
- £128.00
915mm - 1067mm / 1219mm - 1371mm
- £134.00
915mm - 1067mm / 1372mm - 1523mm
- £140.00
915mm - 1067mm / 1524mm - 1675mm
- £146.00
915mm - 1067mm / 1676mm - 1828mm
- £153.00
915mm - 1067mm / 1829mm - 1981mm
- £160.00
1068mm - 1219mm / 200mm - 609mm
- £105.00
1068mm - 1219mm / 610mm - 761mm
- £112.00
1068mm - 1219mm / 762mm - 913mm
- £119.00
1068mm - 1219mm / 914mm - 1066mm
- £125.00
1068mm - 1219mm / 1067mm - 1218mm
- £135.00
1068mm - 1219mm / 1219mm - 1371mm
- £142.00
1068mm - 1219mm / 1372mm - 1523mm
- £150.00
1068mm - 1219mm / 1524mm - 1675mm
- £156.00
1068mm - 1219mm / 1676mm - 1828mm
- £163.00
1068mm - 1219mm / 1829mm - 1981mm
- £170.00
1220mm - 1400mm / 200mm - 609mm
- £121.00
1220mm - 1400mm / 610mm - 761mm
- £128.00
1220mm - 1400mm / 762mm - 913mm
- £135.00
1220mm - 1400mm / 914mm - 1066mm
- £142.00
1220mm - 1400mm / 1067mm - 1218mm
- £157.00
1220mm - 1400mm / 1219mm - 1371mm
- £162.00
1220mm - 1400mm / 1372mm - 1523mm
- £170.00
1220mm - 1400mm / 1524mm - 1675mm
- £178.00
1220mm - 1400mm / 1676mm - 1828mm
- £188.00
1220mm - 1400mm / 1829mm - 1981mm
- £194.00
Features
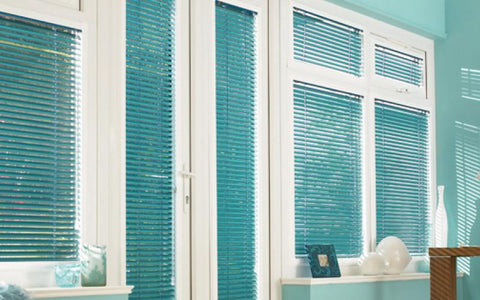
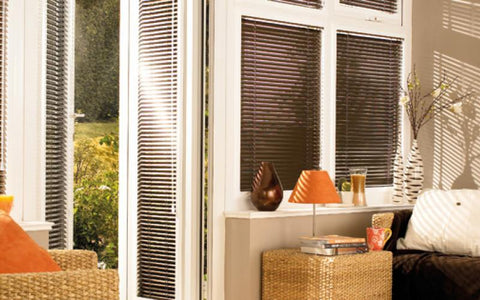
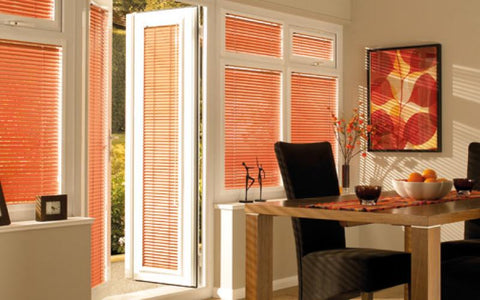
A huge range of colours and textures to match your interior design scheme
No drilling or screwing into your window frames for a quick and clean installation
Reduced gaps at the edge of the blinds increases your privacy
Child safe because there are no loose cords or loops
Leaves window sills clutter free
25mm Venetian Slats
VIDEO